 Installation
of AmigaOS 3.9 under WinUAE
Installation
of AmigaOS 3.9 under WinUAE
Translated
by Desolator. (desolator@amiga.org)
Foreword
This is
the “unofficial” english translation of Thomas Rapp’s guide on how to install
AmigaOS3.9 under the WinUAE enviroment. I have asked Mr Rapp for approval of
this document and he agreed that I could upload it to the net. (Just check Amiga.Org and you’ll
see how many of the newbies there who have severe problems installing a fully
functioning AmigaOS3.9 installation.) Also, I can’t speak german so this is
freely translated, and not 100% accurate with Mr Rapp’s words. Also I’d like to
add that running an Amiga in a emulated enviroment is NOT wrong to do. You real
Amiga users (I run a real Amiga too though… :) should NOT look down upon those
who choose the emulation as a way to run Amiga software. Most people I know
that run WinUAE either get a real Amiga after a while or buy real Amiga
software for the emulation enviroment. This is just one way of experiencing the
Amiga Experience.
Setting up
You need a version of WinUAE, preferably the latest, and kickstart 3.1 Roms & key.
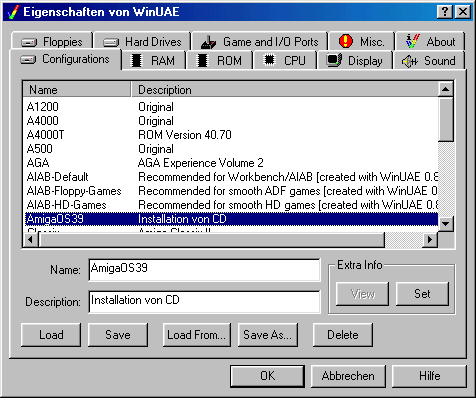
Start WinUAE and make a new configuration. You can
call it “AmigaOS39”.
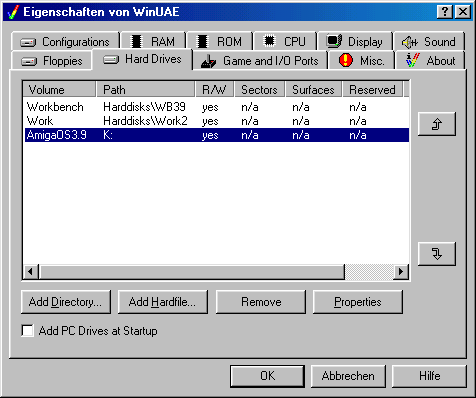
Then, go into the harddrive setup part, and create the
following harddrive directories:
|
D:\WinUAE\Harddisks\WB39 |
The boot partition. Workbench will reside here after installation. |
|
D:\WinUAE\Harddisks\Work2 |
The Work partition. You install your additional software here. |
|
D:\WinUAE\Harddisks\AmigaOS39 |
This is where you copy the whole AOS39 cd-rom. |
In the
boot partition we have to create a startup-sequence so we can boot from it
without a workbench installation.
Mr Rapp
created a zip file with all the necessary files and I’ve uploaded it to my
website. You can download it from https://elite79.tripod.com/os39uae/start.zip
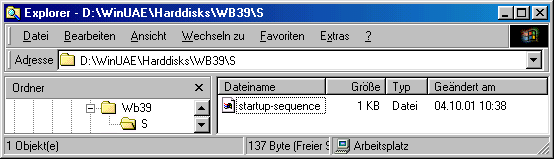
Copy the S
catalogue from the Zip file to the WB39 harddrive, just as in the picture
below.
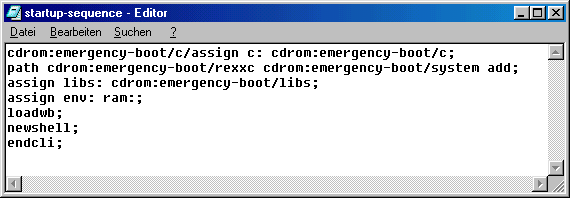
It
should look like this if you open it with an editor:
The .rexx
script in the zip file goes into the root of the WB39 catalogue. (I.E
D:\WinUAE\harddrives\WB39\CopyOS39.rexx.
Configuration
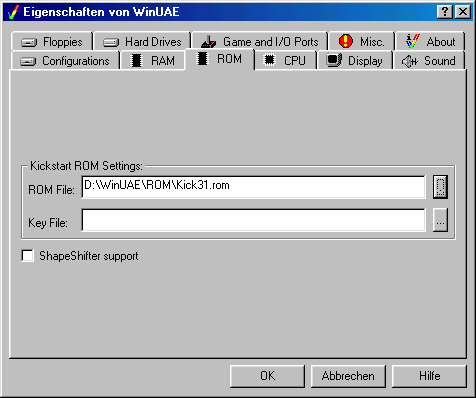
Set the kickstart to 3.1
Don’t check the “Add PC Drives at Startup”. It just
clutters up the workbench when we are going to install AOS39.
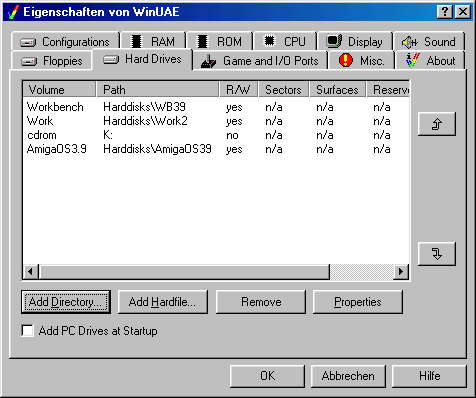
Add your CD-Rom drive by entering it’s drivemap
letter. DON’T add the slash (/) at the end though, Amiga OS won’t recognize it
if you do.
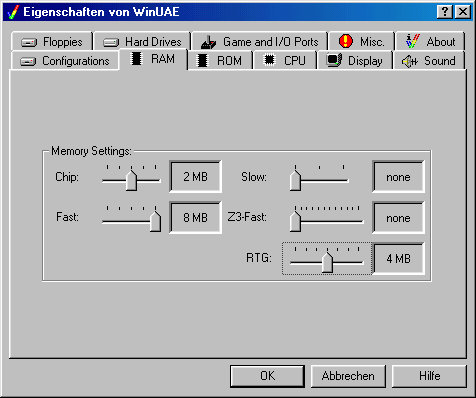
Configure the graphics settings like the picture
below.
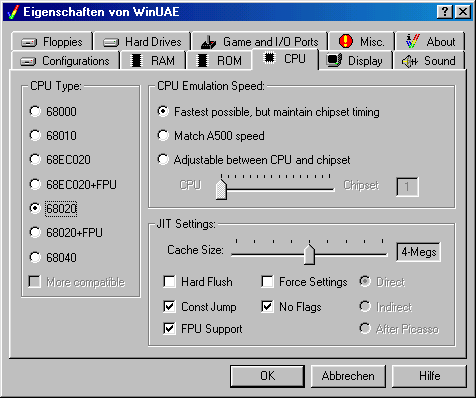
Set the CPU to 68020 and select "Fastest
possible, but maintain Chipset" to get some speed.
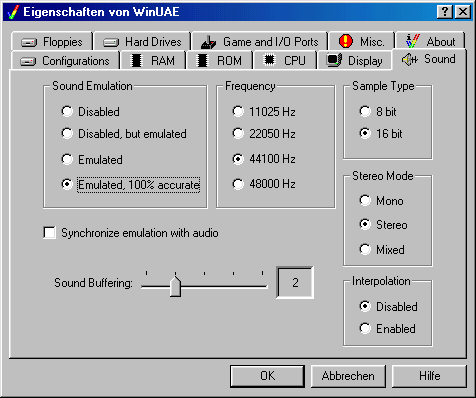
Emulate 100% sound or the AmigaOS3.9 installation will
hang and/or crash.
Save your configuration at this point.
Copying the AmigaOS3.9 CD.
Insert your AmigaOS3.9 CD into your CD drive.
In the shell window, enter the following command as
showed below.

If it can’t copy the files, then readwrite the CD with
this command which you type in the shell window.
protect AmigaOS3.9:#? +wd all
Then try again.
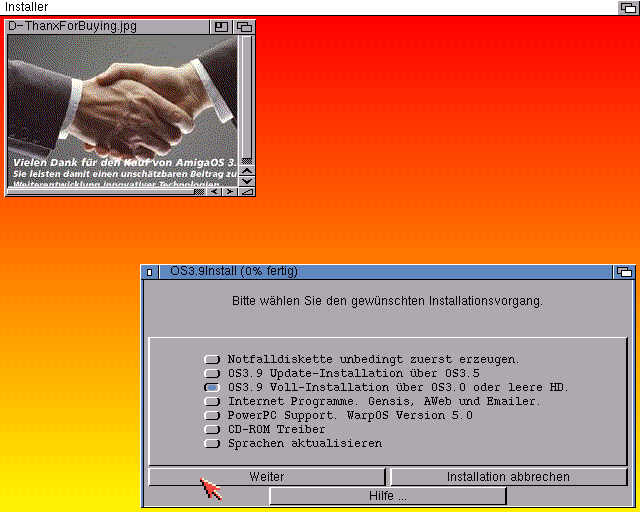
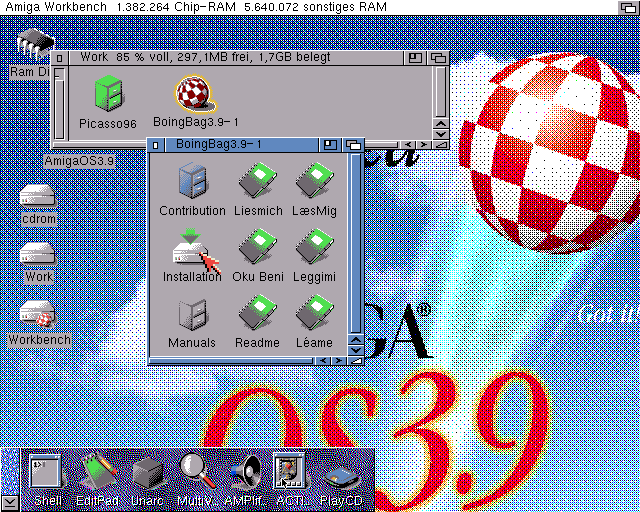
Installation
Start the OS3.9 Installation from the directory where
you copied the AmigaOS3.9.
Select to create an Emergency disk.

When it asks for a disk just hit F-12 and select the
Floppies Tab.
Push the “Create Standard Floppy” button,and type in a
fitting name to your disk, such as Emergency. (you don’t need to type the .ADF
ending)

When the disk is created, Don’t eject it but reboot
the Amiga. (either by pressing CTRL+Windowskey + Windowskey or by pressing
F-12, misc, and Reboot Amiga button)
This message will pop up as soon as the disk boots.
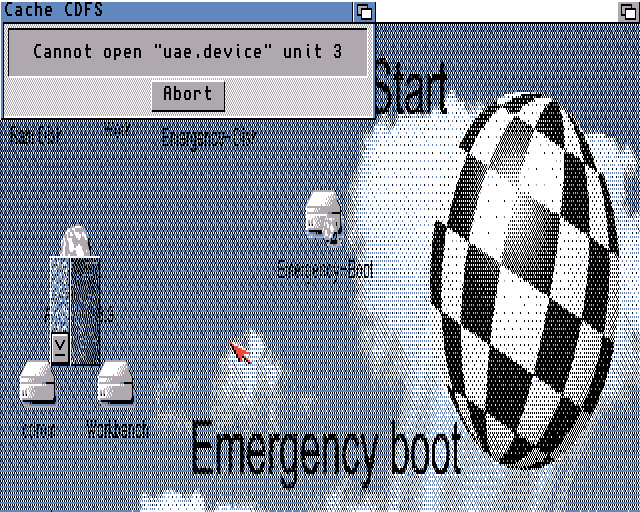
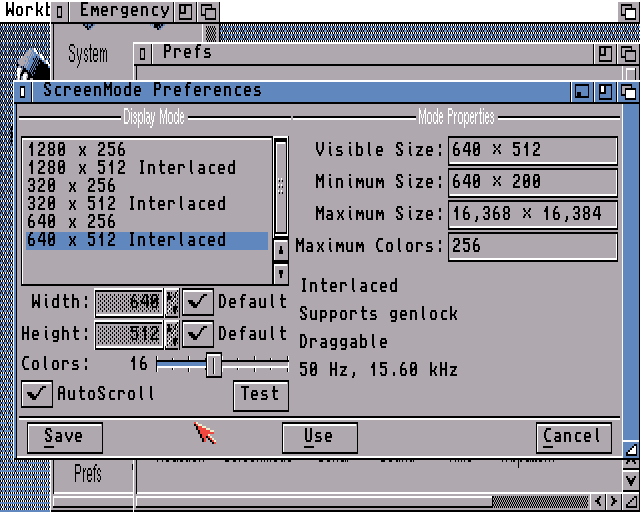
Just click ABORT and go into the workbench drawer,
then prefs, then screenmode preferences.
Set the settings like this:
The Amiga dockbar don’t load the correct setup so you can find the correct
one in this directory: AmigaOS3.9:Emergency-Boot/Prefs/Env-Archive/SYS.
Select the Amidock window and select Edit Configuration
in the menu (as shown below).

Now carry on with the installation.
On the question about graphics card, answer Yes.
After the installation is done, hit F-12, then the
floppies tab and eject the emergency disk.
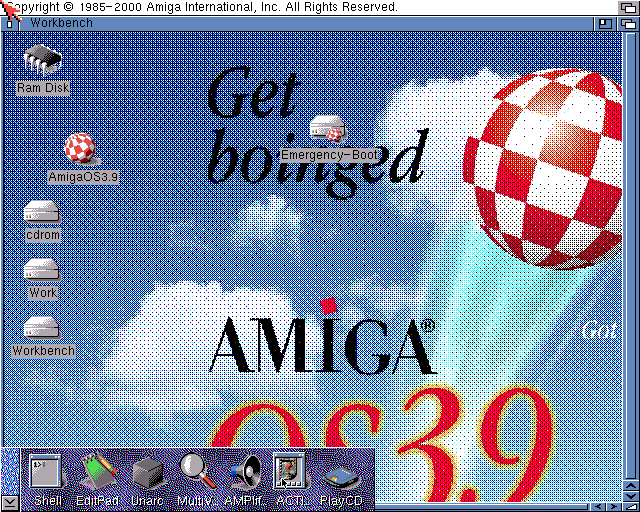
Reboot your Amiga and hopefully AmigaOS3.9 will load.
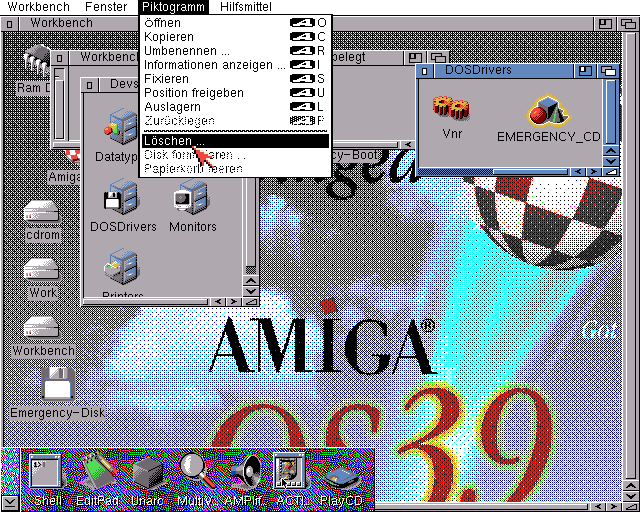
Click ABORT when the uae.device unit 3 window pops up.
remove from Devs/Dosdrivers the Emergency_CD icon since
WinUAE can’t handle that.
You can install the internet software at this point if
you like.
Installation of
the Boingbag
Download the boingbag update from the internet, either
by using Explorer in Windows or by installing the internet software and running
Aweb from the Amiga enviroment.
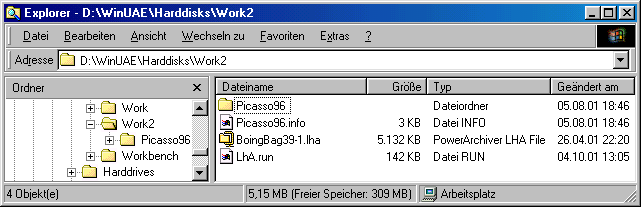
Copy the
Boingbag file into the Workbench Partition. The boingbag is LhA compressed so
you have to go to Aminet and download it from there. Just search for lha.run
You need
the AmigaOS3.9 cd-rom in the drive when you install the boingbag.
When you
have aquired lha.run, place it in the Work: partition
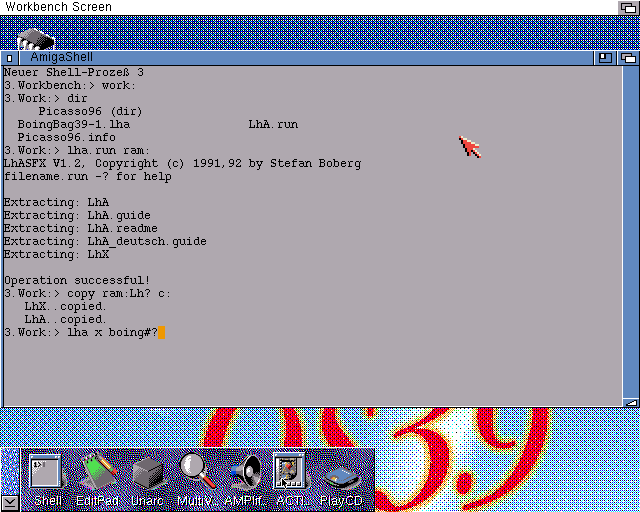
Open up a
shell window (right mouse button, choose execute command in the menu, type
NEWSHELL)
Then do
like this
cd work:
This is
where we placed the lha.run file
lha.run
ram:
we install
lha.run to RAM memory.
copy
ram:lha c:
then we
copy lha to the system itself.
lha x boingbag39-1
we unpack
the boingbag.
Then we
can proceed with installing the boingbag itself.
There! Now
you got a working AmigaOS3.9 installed in WinUAE.
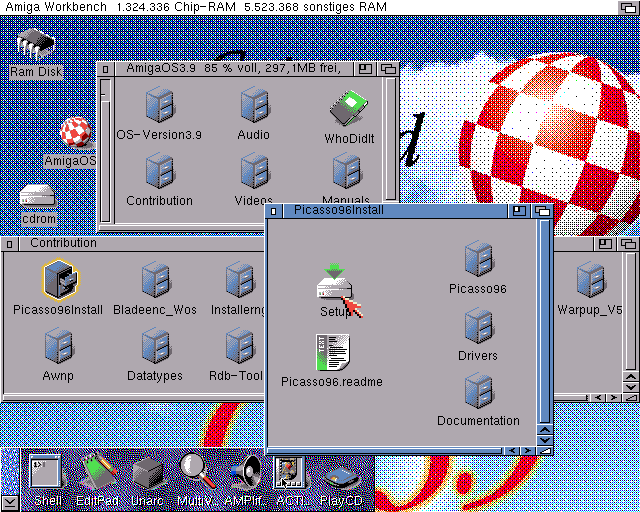
Installation of
Picasso96
On the AmigaOS3.9 cd there is a picasso96 installer.
You’ll find it in the Contribution drawer. (as
shown below)
The graphicscard uaegfx will automatically be
recognized. Select it.
Reboot after the installation is done.
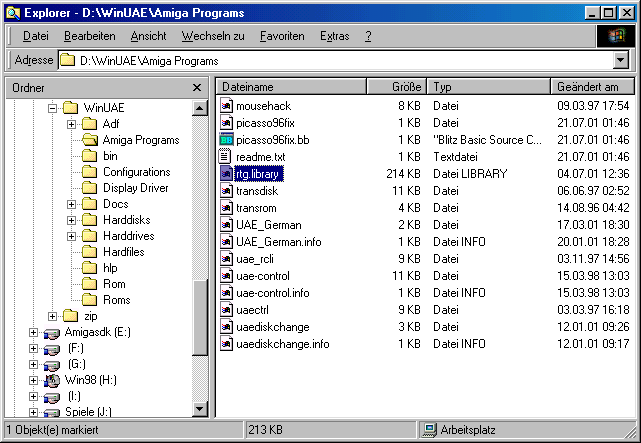
Swap out to Windows (yuck, puke!) and copy the rtg.library
file which you can find in the Amiga Programs directory in WinUAE.
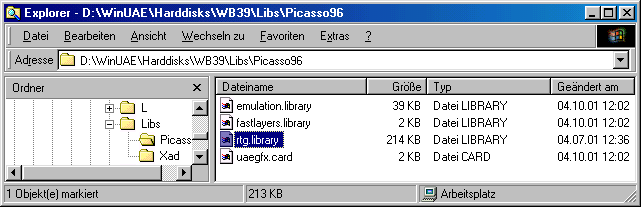
.¨..and place it into your Workbench harddrive under
Libs\Picasso96 as shown below.
Now swap into
the Amiga enviroment again, and open up the screenmode preferences as before.
If it doesn’t look like the picture below, then reboot
the Amiga and try again.
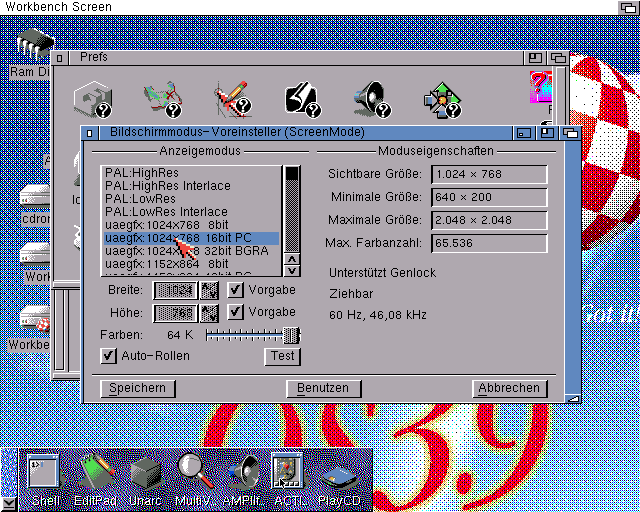
Select a screenresolution that fits your computer and
your taste.
And…
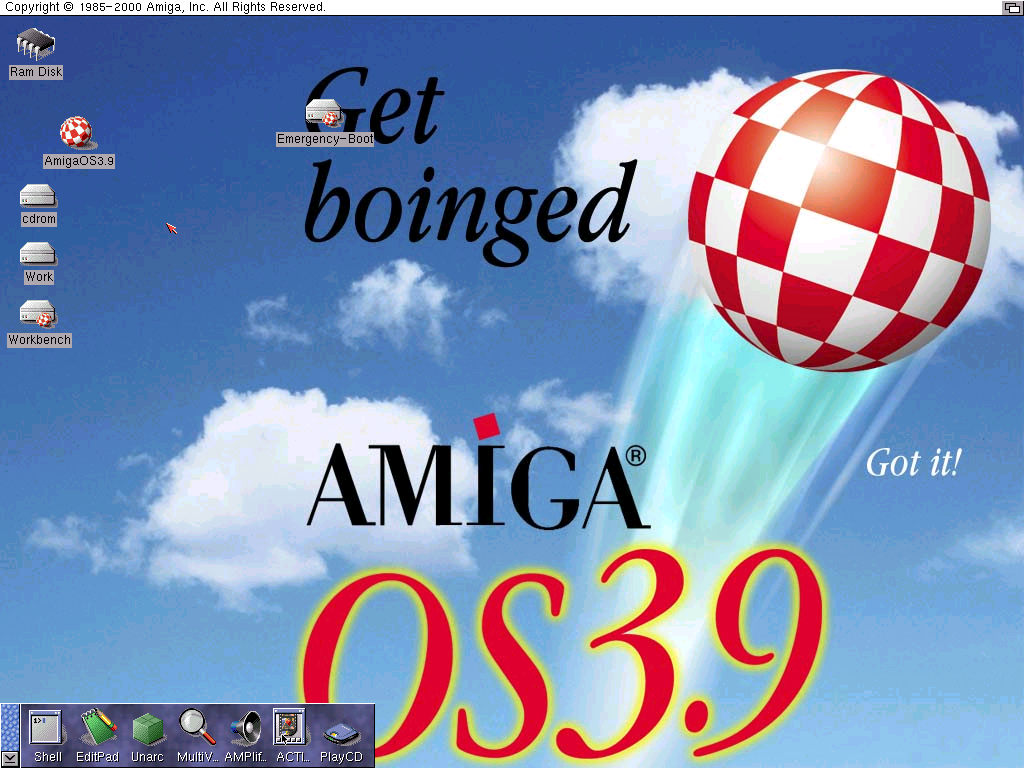
We got a
fully functioning AmigaOS3.9 installation under WinUAE! Have extremely fun now
with your Amiga!
The
original author of this document can be found at: thomas-rapp@web.de.